Step-by-Step Guide to Painting Your Gilbert Home
From Prep to Finish: A Step-by-Step Guide to Painting Your Gilbert Home
Painting your home is a significant investment that not only boosts curb appeal but also protects your property from the harsh Arizona climate. Whether you’re considering a do-it-yourself approach or planning to hire a professional, understanding the painting process can help you achieve the best results. Below is a step-by-step guide to ensure a smooth and long-lasting paint job.
1. Inspection and Planning
Before you begin, inspect the surfaces you plan to paint. Look for cracks, peeling paint, and any signs of damage. Determine whether you need special primers or paints to address unique challenges posed by Gilbert’s intense sun and dust storms. Planning ahead also includes selecting colors that complement your home’s architecture and neighborhood aesthetic.
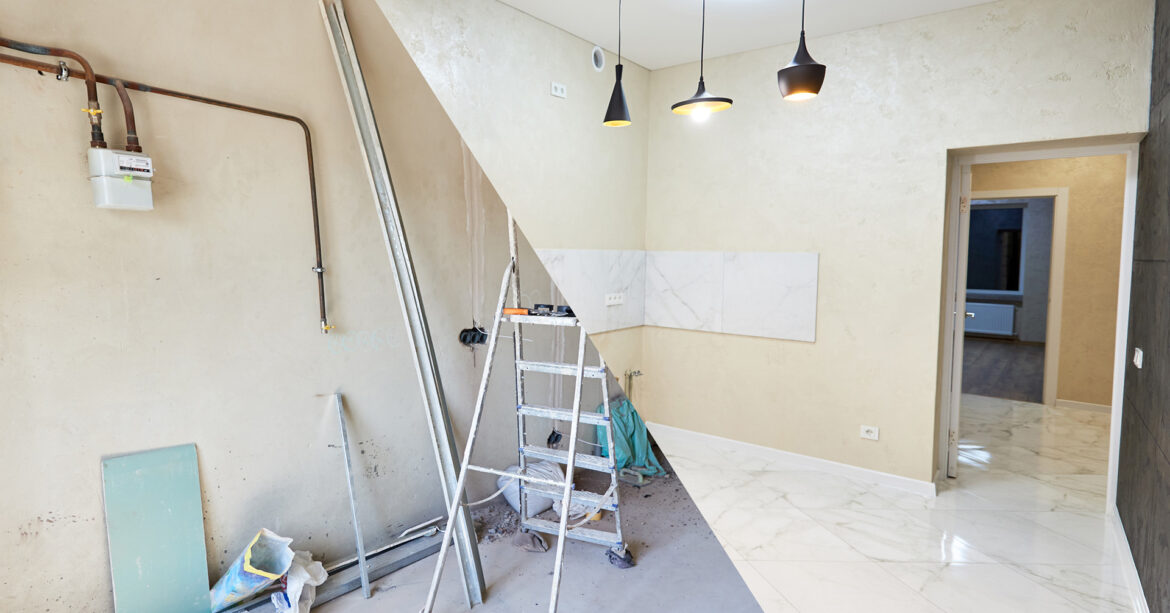
2. Surface Preparation
Proper preparation is key to a flawless paint finish. This step often involves scraping off any loose paint, sanding rough spots, and power-washing exteriors to remove dust and debris. Make sure to repair cracks or holes with the appropriate filler and caulking, especially around windows and doors. A well-prepared surface ensures better paint adhesion and longevity.
3. Priming
Applying primer creates a uniform base that helps paint adhere more effectively. In many cases, primer can also block stains and reduce the number of paint coats needed. Choose a primer that’s compatible with both your surface type and the paint you plan to use. This is especially important in high-moisture areas or older homes where previous paint jobs may not have been done properly.
4. Choosing the Right Paint
In Gilbert, where sun and heat are a constant, investing in high-quality, UV-resistant paint is crucial. Elastomeric or other specialized exterior paints can offer extra protection against cracking and fading. For interiors, look for paints with low or zero VOCs to maintain good indoor air quality.
5. Application Techniques
When it’s time to apply paint, using quality brushes and rollers (or even professional spray equipment) can make a difference in the finish. Apply paint in even, consistent strokes, and be sure to follow the manufacturer’s instructions for drying times between coats. If you’re tackling a large exterior area, consider painting during cooler parts of the day to avoid issues caused by rapid drying in extreme heat.
6. Final Inspection and Clean-Up
After the paint has dried, walk around your home to inspect for missed spots or uneven coverage. Touch up any problem areas before calling it a day. Properly dispose of or store leftover paint, and clean your tools according to the paint manufacturer’s guidelines. A thorough clean-up ensures a professional finish and makes future touch-ups simpler.
While this guide outlines the painting process, hiring skilled professionals can ensure optimal results—especially given Gilbert’s challenging climate. For more information or to schedule a consultation, visit our
Gilbert House Painting Company page. A well-executed paint job not only beautifies your home but also safeguards it for years to come.